How to correct article proofs with Adobe
On this page, discover how to use Adobe to correct article proofs.
Using the comment toolbar
After opening your proof in Adobe, click on the Comment logo ![]() in the right-side bar.
in the right-side bar.
The toolbar should appear at the top of the page.
Right-click on the toolbar and select ‘Show All Labels’ to display helpful descriptions for each tool, as shown below.

With your chosen text selected, the buttons on the tool bar will:
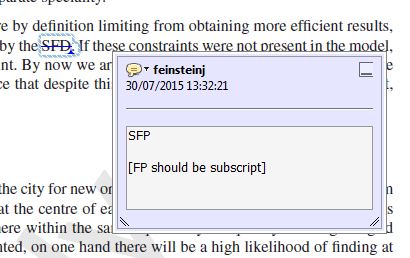
Sticky Note
Allows you to add a note within the text. It opens a comment box on the right hand side to type into. Select Sticky Note and then click within the text where you want the comment to appear. You can also right click within your text to open a menu that gives you the option to Add Sticky Note.Highlight
This highlights the selected text, which is helpful for marking multiple occurrences of a correction.
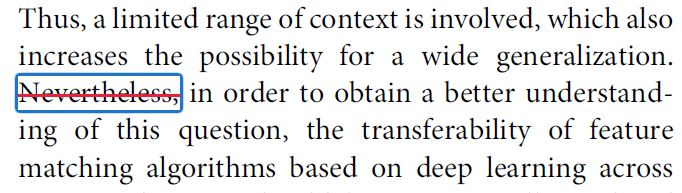
Strikethrough
Marks the selected text for deletion.Replace Text
Selecting this will open a pop-up box to type the replacement text into. This will cross out the old text and launch the Insert Text box. The Comments pane will then display this as one correction. When inserting or replacing text, you will be typing into a pop-up box that appears on the right hand side. To close the box click back into the main text. Open it again by clicking on the box
The text in the box should only be what you want to insert. However, sometimes you will need to clarify inserted text or add some additional commentary. This should be done in square brackets added after short corrections or before longer ones.
Publishing tips, direct to your inbox
Expert tips and guidance on getting published and maximizing the impact of your research. Register now for monthly insights direct to your inbox.

For the sake of clarity, leave a blank line between the commentary and the actual correction. The text you type into the box can be made bold, italic, underlined, superscript, or subscript just as if you were typing in any other application.
You can select the word and right-click, then select “Text Style” on the menu that pops up, then select your chosen option. You can also copy and paste text from and into the blue boxes. What you type in the blue box will be reproduced exactly, so please check the spelling.
Adding comments
Acrobat has a built-in indicator to show when all that is needed is an added space. If you just hit insert, then the space bar, then click elsewhere or close the pop-up box, you’ll get the caret-underscore symbol shown on the left in this example. The example below is a more certain way of getting the correction you want.

Adding hyphens and dashes
Unlike Word, Acrobat and Reader do not automatically distinguish between dashes of various lengths. When inserting dashes, use one for a hyphen (-), two for an en-dash (–), and three for an em-dash (—). Add spaces either side if required.
Adding paragraph breaks
Press insert, then enter, then close the box, to get the paragraph symbol. You can also insert the text [paragraph break].

Adding symbols
If you know the Alt-key shortcut for a letter or symbol, you can type that into the box and the symbol will appear as it should. For example, Ctrl+Alt+4 will produce a Euro (€) symbol.
Alternatively, type the symbol in Word, and then copy and paste it into the text box in Acrobat/Reader. If you need to use the symbol again, you can copy and paste from within Acrobat/Reader.
Use the LaTeX code for a symbol (e.g., “\alpha” for “α”) if you know it.
Change the format of the text
Select the text, then ‘Add Note to Text’ from the right-click menu. Write your instruction in the pop-up box.
Changing the layout
Use a sticky note and make sure your instructions are clear.
Changing figures
You cannot make changes directly to figures – any modifications should be marked on to the relevant figure(s) with sticky notes. This includes occasions when figures are replaced: a note with the instruction “replacement figure X” tells us to look for the replacement figure which you have uploaded with your corrections.
Please note: Adobe XI includes a tool to replace figures directly, but these changes will not be visible to us, so please do not use it.

Making many similar corrections
If you need to make the same correction a great number of times, you can place a single sticky note on the first page of the article with clear instructions about what needs to change.
Please note: If you have Adobe XI installed, a ‘Find and replace’ text option is available but please do not use this. Any changes to words or phrases made using this tool will not be visible to us.
Adding corrections to those of a co-author
If you are sharing the proof correction process with a colleague, you can add further corrections of your own or you can select, delete, or edit their changes if you need to. If one author has used a non-Adobe product to add their comments, you will need to copy these across, e.g., by using sticky notes.
Undoing mistakes
Click to select the correction. You will see the dashed blue highlight box as illustrated here:
Press the delete key to remove the whole thing, or right-click on the correction and select “delete.”